A reMarkable device
An eInk tablet is not to be compared with an iPad. The technology now widespread, thanks Kindle for that, has a different target to fulfill: Your notes and printed documents handled digitally, yet with the ink & paper feel.
Key requirements
In the world of eInk devices, a few considerations that are often overlooked come into play:
- Responsiveness
- Input precision & sensitivity
- Size & DPI
- Sideloading feasibility
- Robustness
It has to be responsive, otherwise it behaves nowhere near like a pen. It better support some input mechanis. Think how a stylus may start to feel close to a real pen if the surface is sensitive to hundreds of pressure levels. The size and resolution are key to comfortable reading and authoring. In the world of walled garden, and the impossibility for most companies to solve the universe, it needs to allow hacking and development, leveraging communities to push innovatative solutions to everyone's needs. Of course it better be solid, one can back things up but if the tablet can't turn on because it fell off the table, given the price these things cost it would be a bad day since they tend to become indispensable for certain tasks.
eInk technology is still limited to black and white for practical use. But it has a big plus on its side: Power consumption. Compared to an LCD panel, one could say they consume nothing. Powering pixels is one of the two most battery draining on a laptop or tablet. Since such device doesn't need super computing power, even an entry level product would last several days on a single charge.
Limited functionalities in term of notification, syncing, and communication stream is a plus, not a drawback. It's a productivity tool, not a collaborative tool, not yet. What we need for better productivity is likely isoltation, less interruptions these days.
Stylus
Those "pen" come in different flavors. First point of distinction, this article says stylus, not nib holder mascarading as a pen. The receptor pan technology is very different. What's on the iPhone, iPad and other mobile general purpose devices is a multi touch sensor pane over the LCD display tailored for finger touch and swips. Despite improvements with regards to their precision, what's on eInks panels offers far finer delianatin
Top contenders
A decent range of products are available, even wordwide. Cost varies, it goes from less than a hundre bucks for a basic Kindle or Rakuten Kobo, all the way up to the thousands of dollars.
Amazon Kindle
First of a kind going mainstream, the Kindle started off as a reader for Amazon purchased eBooks. No input other than touch navigation for certain models, buttons for the others. I don't consider the Kindle fitting in since it lacks one of the key requirement.
Koboo
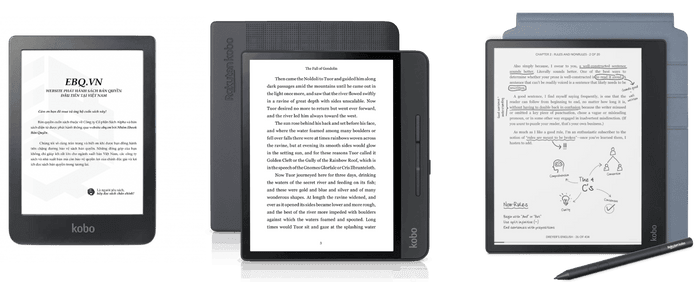
The line offers stylus-less devices, the Elipsa comes with a stylus and a comfortable size, however:
- Stylus is Active technology hence needs to be power, uses AAA batteries
- While an excellent reader, it isn't particularily good for writing. Disapointing since it is the only e-note of the line
|
|---|
Other models can be found here
Supernotes
I wish I could try one out. Still hunting for a good second hand deal on eBay. Review pending.
reMarkable
The prince of eInk technology. Affordable, solid, great form factor. What makes the biggest difference might in fact be the broad compatibility and stunning apps brought to life by the rmkit project. This project even turned this device into a development environment. The stock reMarkable OS is a mildly altered linux distribution, no very strict hacking preventive measures.
Spec review coming soon, but tighten your seatbelt and see a few of the interesting use cases this thing can handle.
reMarkable turned into a Graphic input device
The reMouseable trick
Drawing some pixel arts? White-boarding on your computer with the stylus? It’s possible using a reMarkable tablet, with a little tool call reMouseable.
ssh enables a computer client, say a linux based reMarkable tablet, to send packets over the network to a computer server, say your OSX workstation. It relies on a well-established secure protocol working across multiple platforms including Windows, Linux and OSX.
reMouseable receives the ssh incoming messages and convert them accordingly, allowing the tablet to act as an input device.
This effectively turn the reMarkable into a Graphic tablet input device.
How To
Grab the latest reMouseable build from the releases page. The binaries are available for Windows, Linux, and OSX.
1. Connect the tablet
A convenient setup is to connect the tablet over the same WiFi as your computer.
Once connected, navigate to
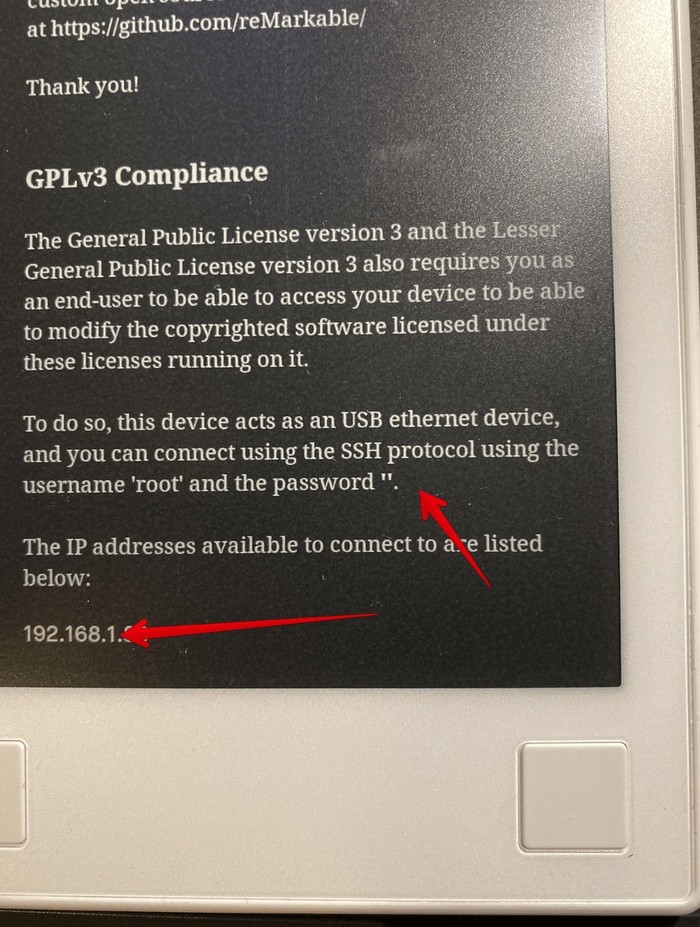
Menu -> Settings -> Help -> Copyrights and licensesTake note of the root password and IP address at the very bottom.
2. Launch remouseable
From your computer, launch a terminal, and execute the reMouseable application, like so:
reMarkable v1:
remouseable --ssh-ip=”192.168.1.110:22" --ssh-password=”rootpassword”reMarkable v2:
remouseable --event-file /dev/input/event1 --ssh-ip="192.168.1.110:22" --ssh-password="rootpassword"Replace the IP with the IP shown on the reMarkable, and the rootpassword with the actual root password. The port :22 should remains the same.
It only takes a few seconds, and your tablet is now acting as a mouse input device.
Here is a screencast of those steps on an OSX computer.
3. Start Drawing!
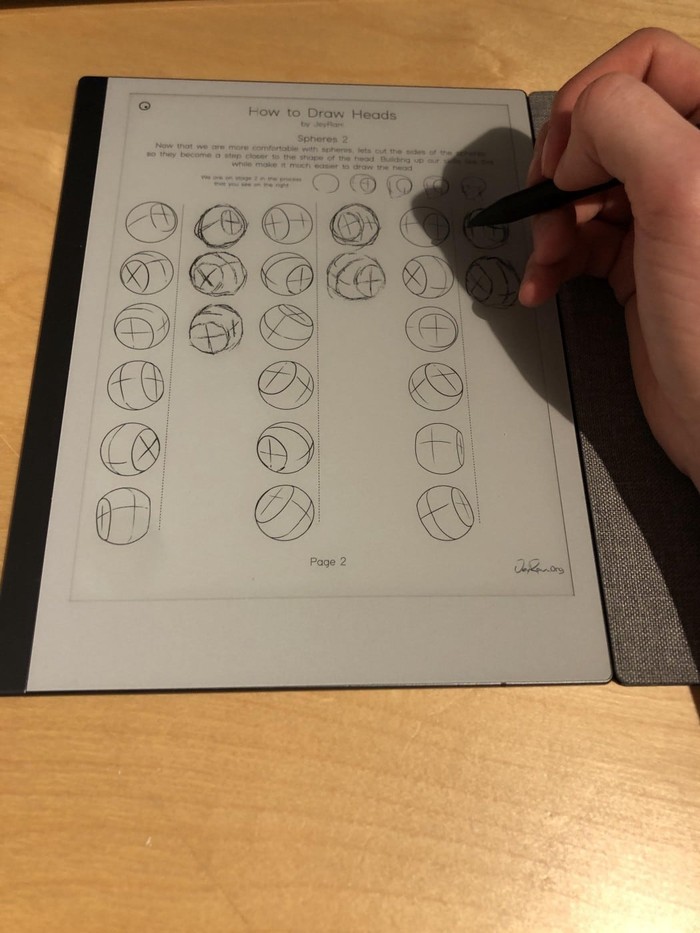
Create a new Quick Sheet and start drawing with your Stylus.
Observe that touching the table with the tip results in a mouse down event, but hovering over the table, close enough will send the pointer position (without click).
Another screencast, here, showing a a recording of some doodling from the tablet, over to a free web drawing app. Pixilart.
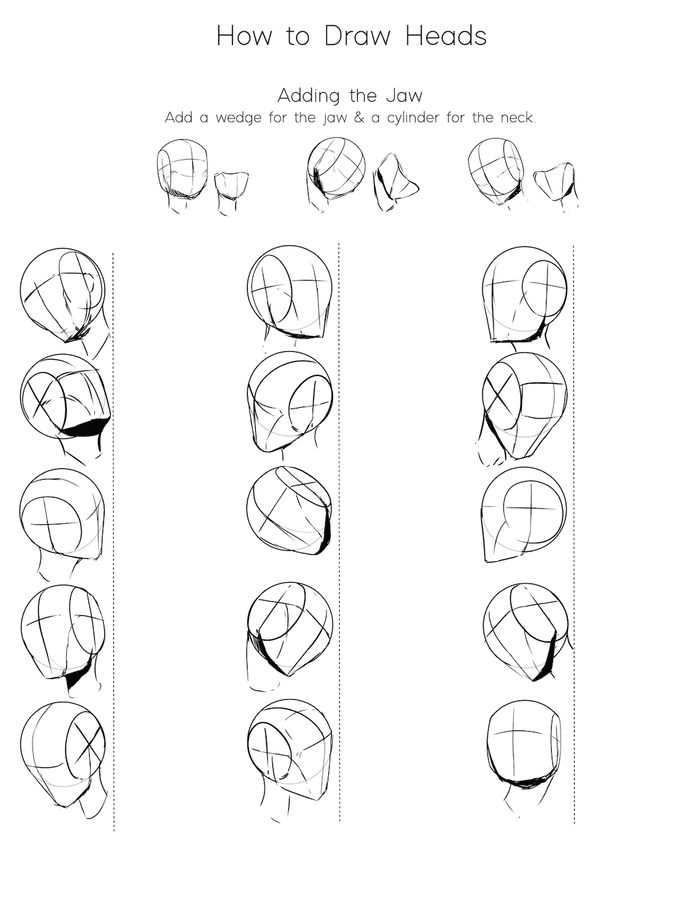
reMarkable Templates to Practice Hand Drawing
Drawing is an illusion, you aren’t making circles and squares and cubes, you’re making lines that convince the brain that it’s looking at circles and squares and cubes.
If you have trouble making smooth strokes in general, it’s most likely a mix of arm control, practice, and lying to yourself. You say you can’t draw a decent circle, but odds are you can, because you can most likely draw the letter o just fine, which is a circle. You just don't think of it as a circle, and it's small so you use different muscles to make it; the two together mean it doesn't quite translate to making a big circle.
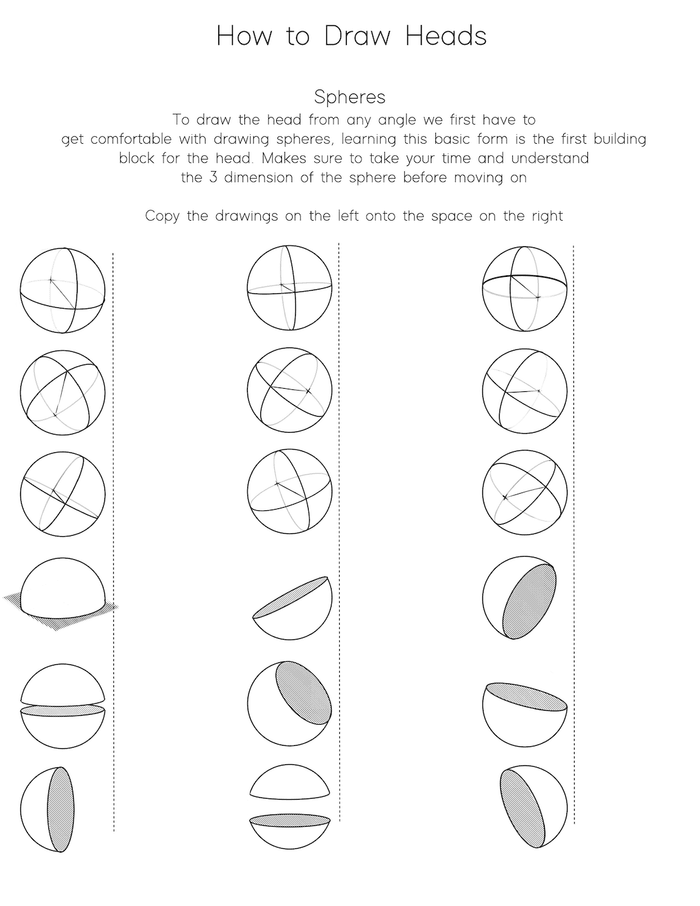
These templates are perfect to practice sketching.
|
|---|
|
|---|
With a device like the reMarkable there’s no excuse not to, because you don’t have to save anything and you aren’t wasting ink, pencils, or paper to do it.
I can’t draw a straight line remark people make is self-defeating silliness: the muscles and joints of the human arm are built in a way that makes curves natural and straight lines extremely difficult.
Now, if you specifically want to build that muscle memory and get more comfortable with doing the elbow and full-arm movements for curves, you can do this doodling exercise. Or if you want more variety than that, something like this that mixes lines and circles. For line practice you can do things like that, which doubles down as hatching practice.
Even if you do nothing else, let your mind wander and doodle in the margins of ebooks or articles sent from the browser plugin as you’re reading them. Get accustomed to doing it without worrying about acceptance, because even if you never become amazing it can be relaxing and sometimes useful. The hard part is learning to look at things differently, because we default to looking at things and thinking “eye”, “nose”, “mug”, etc. in a kind of shorthand that leans heavily on knowledge and symbols, rather than seeing what’s in front of you. Instead you have to learn to see shapes and relationships in things, to look at something and see what’s there in front of you rather than what a thing is.
Full Resolution Templates
How to
- Copy (scp) the template files onto the reMarkable
- Open a Template, and start drawing!
Better reMarkable Sketching with Harmony
Finding it hard to draw beautiful illustration using your reMarkable device? Me too. Can’t figure out how to a drawing actually look like a Sketch? Neither do I. But Harmony may be the tool that will unleash your creativity.
What is this about?
This custom application ships with an outstanding palette of Sketching tools:

|
|---|
And a brief demo here
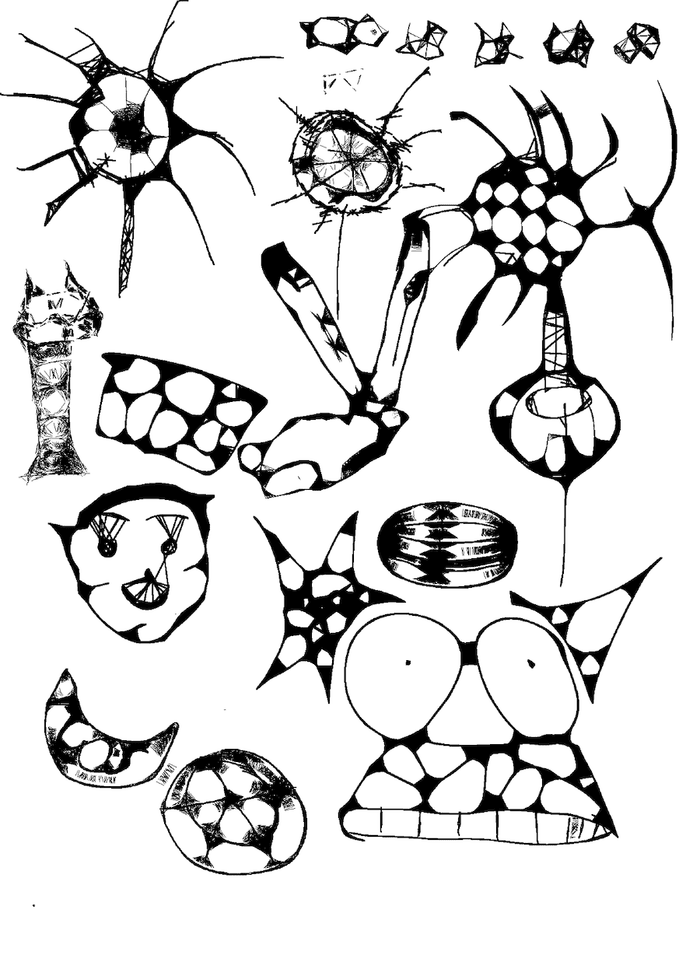
I started experimenting with the shaded and sketchy procedural brushes, here are some small sketches art made one a single sheet, it took about 10 minutes just fooling around:
|
|---|
That’s pretty cool for a non artist like me. But surely can do better.
After a dozen sketches, a few days later:

|
|---|
Some more sketches after a few months of practice here.
This is all good, but how to get this Harmony app to assists with Sketching on the reMarkable?
The section below covers the technical steps to install the necessary prerequisites along with Harmony.
How to install Harmony
It isn’t a straight forward process, but following the steps below should help you get on with it from start to finish.
1. Connect to the reMarkable via ssh
This is the same step as covered above for reMousable.
2. Install toltec
Warning: Toltec only supports OS builds up to and including OS 2.12.1.527. You will soft-brick your device if you install before support is released. See remarkable2-recovery for information on how to recover your device if you have done this.
While connected via ssh, on your laptop, enter the following commands.
wget http://toltec-dev.org/bootstrapWait a minute for the bootstrap file to download.
— then
echo $ "b41d9bf831b275a12c5ef942599f16a626f84ab79f8c9d0ee8dca2587b8aeb9f bootstrap" | sha256sum -c && bash bootstrapOnce this completes, toltec is installed and configured. Type this command to make sure it is running:
toltecctl reenable3. Update opkg and install Harmony
toltec has installed with the package manager tool. called opkg. Enter the command below to update its repositories:
/opt/bin/opkg updateand here is the commands to, finally, install remux and Harmony:
/opt/bin/opkg install remux
/opt/bin/opkg install harmony
Remux is an application launcher. Needed to lauch harmony right from the reMarkable device.
There is sometimes a bug with Harmony not first creating its image folder. So let’s make sure we created it, with this simple command:
mkdir -p /home/root/harmony/saved_images/Press the keyboard key control-d to exit the session. You may have press it twice.
Launch harmony
Now, if everything went well, press and hold the ‘home’ button of the reMarkable for 2 or 3 seconds, and you will be shown with a modal menu.
Press Harmony showing as a menu item. And the drawing Harmony app will start.
To quit Harmony and return to the stock reMarkable interface, press the home button for 2 or 3 seconds and press the reMarkable menu item.
A tool to extract reMarkable highlighted text and framed images
Read about that here.
Turn your reMarkable device into an extra computer screen
Here is the article explaining how to make this work.
